
Face-framing layers: the cut that shapes your whole look

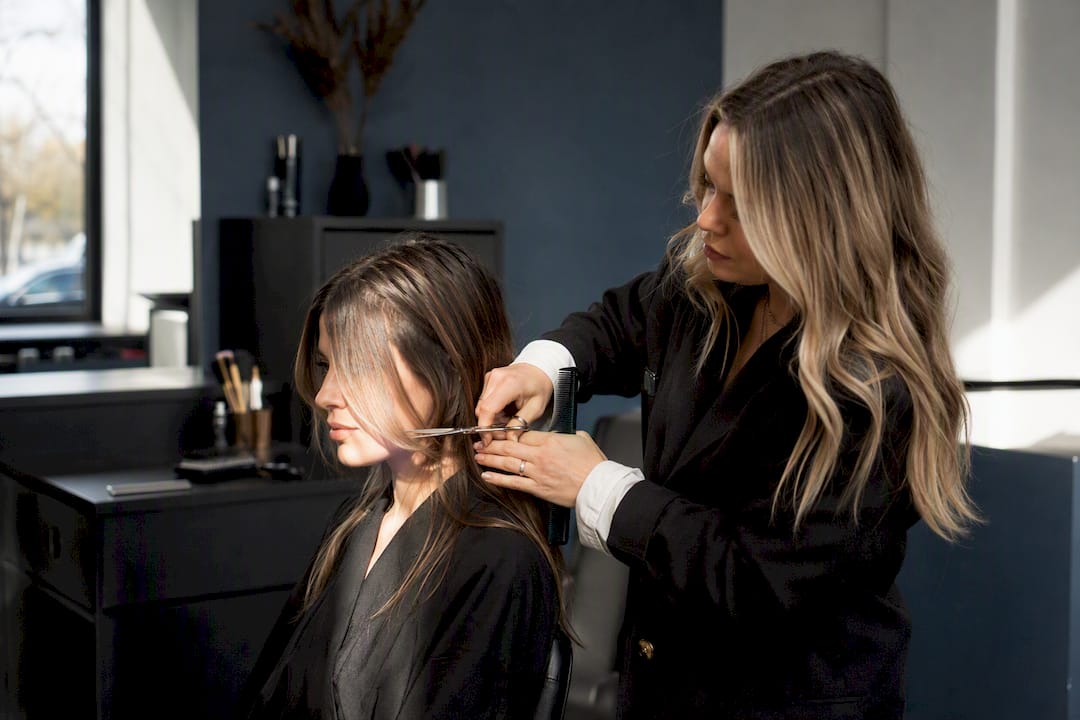
Yes, face-framing layers are worth asking for if you want movement around your features without committing to a full restyle. They work for nearly every face shape and hair type once the starting point is chosen correctly, and that’s the part most people get wrong at the chair. If you’re unsure where to begin, start longer, at the chin or collarbone, because it’s the safest length to soften into shorter pieces later and much easier to grow out gracefully.
Before you book:
Bring two or three reference photos that clearly show the starting point you like
State your goal in one sentence: “soften my jaw,” “highlight my eyes,” or “just add movement”
If in doubt, ask for chin or collarbone length rather than a short, dramatic frame
Key Takeaways
Face-framing layers work best when the starting point is matched to face shape and hair texture, not chosen from a photo alone.
Point | Details |
Start longer if unsure | Chin or collarbone length is the safest first cut and grows out gracefully. |
Match placement to face shape | Below-jaw layers elongate round faces; jaw-level pieces soften square faces. |
Account for curl shrinkage | Cut curly and coily textures longer than the target length and check dry before finalising. |
Bring reference photos | Three photos showing length, shape, and dry versus styled results reduce miscommunication. |
Book with a stylist for precision | Arqhair uses slide and point cutting to blend face-framing layers invisibly during consultation-led cuts. |
Table of Contents
What are face-framing layers and how do they differ from bangs?
Face-framing layers are shorter pieces cut around the front sections of the hair, sitting anywhere from cheekbone to collarbone, designed to draw attention to or soften specific features. Unlike curtain bangs, which are cut across the forehead and parted centrally, these layers blend into the rest of the hair with no hard fringe line. Unlike generic all-over layering, they’re concentrated at the front, which is what makes the effect so targeted.
Where the layers start changes what they do:
Cheekbone length draws the eye upward and outward, good for highlighting eyes or cheekbones
Lip length frames the mouth and adds soft movement near the jaw
Chin length is the most versatile starting point, flattering on most shapes
Jaw length softens angular features
Collarbone length gives subtle movement with minimal commitment
Stylists generally use one of two techniques: over-directed layering, where sections are pulled forward at an angle to create a blended, soft frame, or the natural-fall method, where hair is cut hanging in its resting position for a cleaner, more defined line. Over-directed cutting tends to suit those wanting a softer, more diffused frame, while natural fall gives sharper definition that reads well on straighter textures.
Pro Tip: If you’re torn between the two techniques, ask your stylist to show you both on a small test section before committing to the full head.
Which face shapes and hair types suit face-framing layers?
Face-framing layers can suit every face shape, but only if the placement is adjusted to work with your bone structure rather than against it. This is the single biggest reason people leave the salon disappointed: the technique was right, the length wasn’t.
Round faces benefit from layers starting below the jaw, which elongates rather than adding width at the cheeks
Square faces suit soft, jaw-level layers that break up strong angles
Oval faces have the most flexibility and can wear almost any starting point well
Heart-shaped faces look balanced with layers starting at the chin, which draws focus away from a wider forehead
Long or oblong faces do well with cheekbone-level pieces, which add width rather than length
Diamond faces benefit from layers at the jaw or just below, softening pronounced cheekbones
Hair type matters just as much as shape. Fine hair shows movement easily, so shorter frames work well without much thinning. Thick hair can handle more dramatic shorter pieces without looking sparse. Curly and wavy textures need extra caution: cut the front sections longer than you think you need, because curl shrinkage can pull a chin-length piece up to cheekbone length once it’s dry. Coily textures should generally start even longer again, with a dry check before any final trim.
Which layered styles use face framing well?
Face-framing layers show up across nearly every modern haircut, from blunt bobs to shaggy, textured cuts. Here are the looks worth bringing to your consultation.
Classic lob with face frame — chin to collarbone length pieces around the front, low maintenance, suits fine to medium hair
Butterfly cut — heavy internal layering paired with face-framing pieces for maximum movement, best on medium to thick hair
Hush cut — a softer, more subtle version of the butterfly, easier to grow out
Shag with curtain-bang combo — face-framing layers that blend into a soft, parted fringe, works well on wavy hair
Blunt bob with cheekbone pieces — sharp, graphic contrast, best suited to straight or lightly waved hair
Long layers with jaw-level frame — subtle softening for longer lengths, minimal upkeep
Curly shag with framing — layers cut longer to account for shrinkage, natural-fall technique preferred
Money-piece highlight and cut combo — colour concentrated on the framing pieces rather than a full head of layers
These popular variations each carry different upkeep demands:
Short, visible frames need the most regular attention to stay sharp
Longer collarbone pieces blend into regrowth far more forgivingly
Curly versions need less frequent trims but more careful initial cutting
Curtain-bang hybrids sit between a full fringe and simple layers in terms of daily styling time
If you want the framing effect without the full fringe commitment, layers alone often deliver most of the visual impact with noticeably less upkeep than a true curtain bang.
How do you ask your stylist for the right cut?
Precise phrasing avoids the most common salon disappointment: leaving with layers that don’t match what you pictured. Try one of these depending on your comfort level.
Safe first-timer: “Can we start with face-framing layers at collarbone length, blended with the natural-fall method?”
Bolder change: “I’d like shorter pieces starting at cheekbone length, cut with the over-directed technique for a softer blend.”
Curtain-bang hybrid: “Can we do face-framing layers that blend into a soft, parted fringe rather than a full curtain bang?”
Bring three reference photos if you can: one showing the starting length, one showing the overall shape, and one showing how the style looks styled versus air-dried. This single habit, alongside clear phrasing on starting point and blend, resolves most miscommunication before the scissors come out.
Ask your stylist to check your hairline and any cowlicks before cutting, and if your hair is curly, request a dry preview before the final trim.
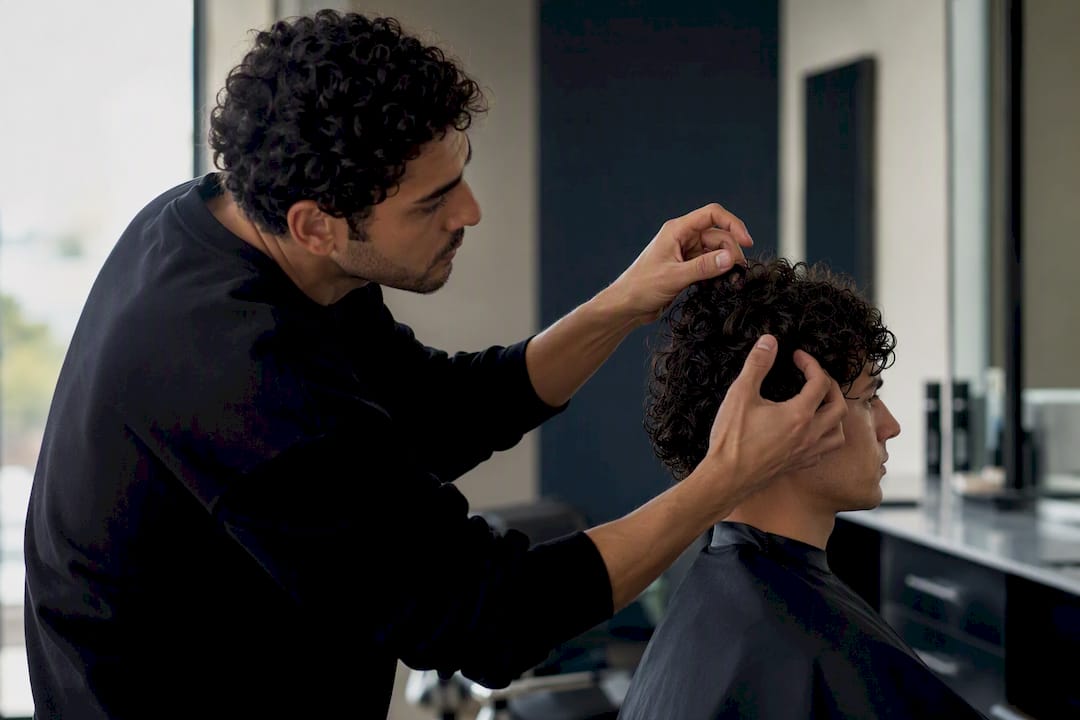
Pro Tip: Take a photo of your own hair air-dried before your appointment. It shows your stylist exactly how your texture behaves, which a styled reference photo never will.
How do you style and maintain face-framing layers?
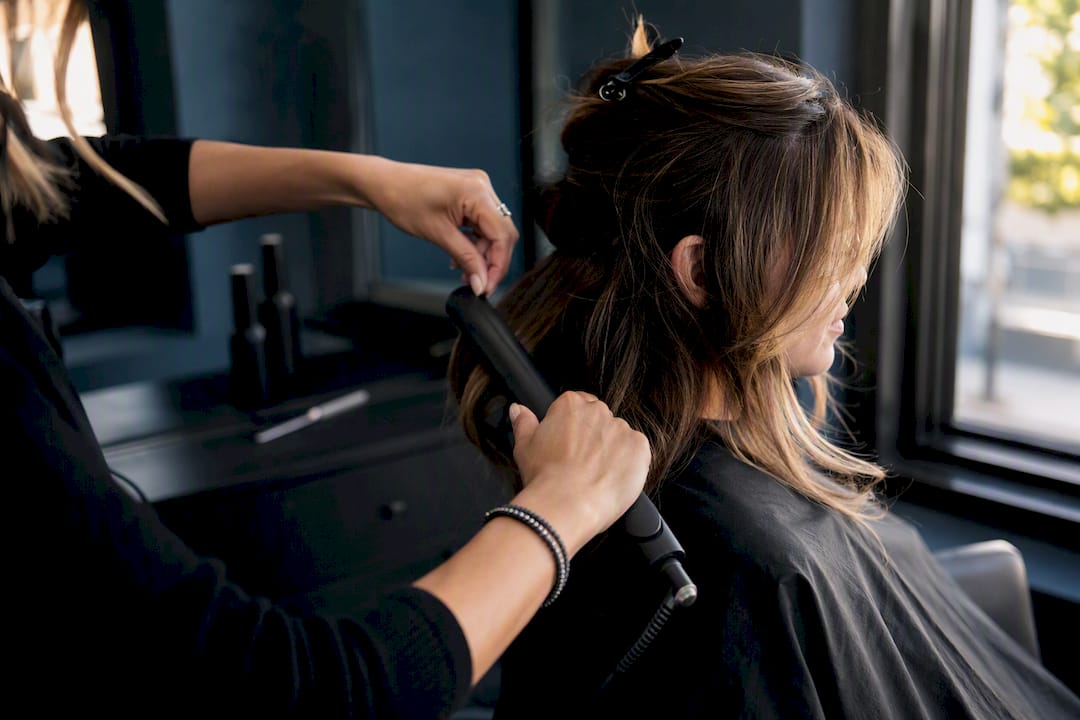
Styling depends entirely on your natural texture. Straight hair usually needs just a round brush and a light-hold cream to keep the front pieces from going flat. Wavy hair benefits from diffusing with a curl cream scrunched through damp lengths, letting the front pieces frame naturally as they dry. Curly and coily textures do best with a leave-in and a smoothing oil on the ends, applied before any heat, to prevent frizz from overtaking the frame.
Trim frequency depends on how short and visible your layers are:
Short, visible frames: every 6 to 10 weeks
Longer collarbone pieces: every 8 to 12 weeks
That’s the guidance most stylists work to, and it’s worth building into your calendar rather than waiting until the shape has grown out completely. If your hair is prone to breakage or you’re growing out a smoothing treatment, a texture-focused service between cuts can help the frame hold its shape for longer.
What does a salon consultation for face framing actually involve?
At Arqhair, every face-framing consultation starts with a conversation about where you want the effect concentrated, not just what length you’d like off the ends.
We use slide cutting and point cutting to blend the frame invisibly, avoiding the harsh lines that make layers look “stuck on”
We test both over-directed and natural-fall approaches against your hair’s actual behaviour before finalising
Our Wella Colour Experts often recommend pairing framing pieces with subtle highlights for extra dimension
We explain grow-out honestly: longer starting points blend better over time than short, dramatic frames
What do stylists wish clients knew before their appointment?
The most common misunderstanding isn’t about length. It’s about the word “layers” itself. Plenty of clients say they want face-framing layers when what they actually mean is a full curtain bang, and the two require completely different maintenance and commitment.
Two things worth remembering: always mention your natural texture before showing a reference photo, since a straight-hair photo behaves nothing like curly hair once cut. And if you’re unsure, ask for the longer option first. You can always go shorter next time.
— RICARDO
Ready to book your face-framing cut?
Reading about starting points and cutting techniques only gets you so far. Getting the placement right for your bone structure and texture takes a trained eye, which is exactly where a stylist consultation earns its keep.
At Arqhair, our cutting and styling service is built around exactly this kind of precision work. Every consultation starts with a discussion about your face shape, texture, and how much change you’re ready for, followed by a cut using slide and point cutting techniques for a blend that grows out gracefully rather than awkwardly. If you’re already thinking about adding dimension to your new layers, our highlights and balayage service pairs naturally with a face-framing cut, concentrating colour exactly where the movement is.
Bring your reference photos and a clear sense of your starting point. Most cutting and styling sessions run around an hour, giving your stylist time to check your hairline, cowlicks, and natural fall before a single cut is made. Book your consultation through our cutting and styling page and come in with your questions ready.
Sources
Recommended
Comments