
Fix regrowth fast: 3 root touch up options a salon colourist recommends

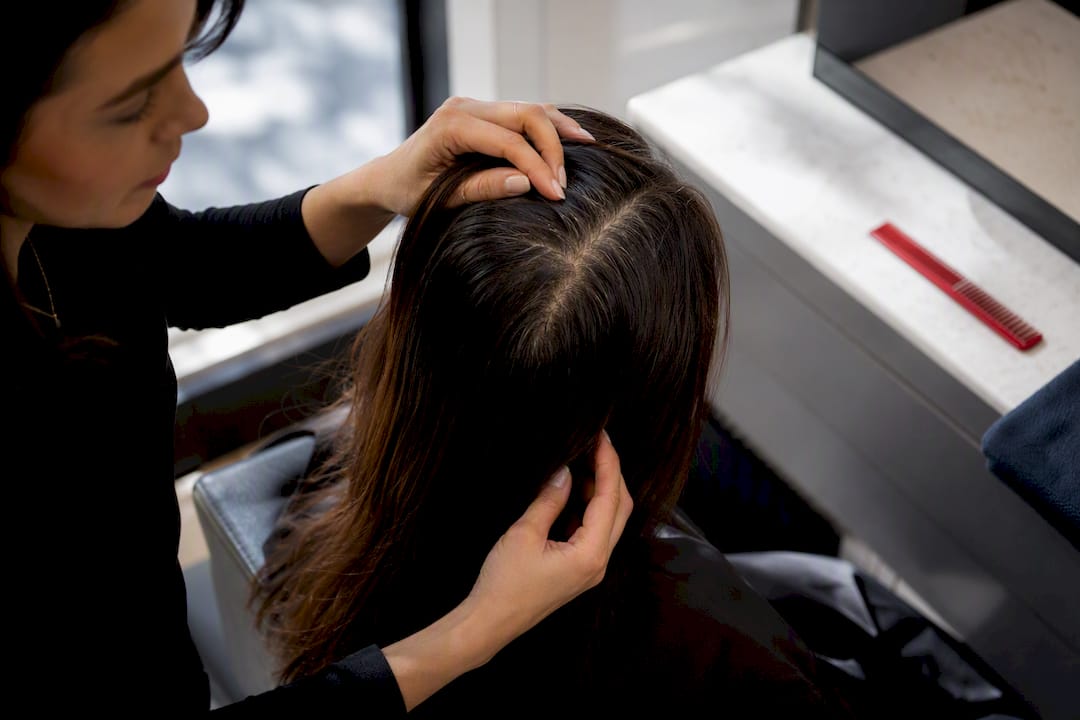
For a fast fix before an event, a temporary root concealer (powder, spray, or compact) is your best bet, lasting until your next wash. If you need coverage that survives several weeks, an at-home permanent root kit is the smarter choice, provided you’re confident mixing colour. Complex multi-tonal colour, resistant greys, or a history of DIY mishaps mean it’s time to book a salon regrowth tint instead.
TL;DR:
Temporary concealers are best for quick fixes prior to events but wash out after one shampoo, while permanent kits last four to six weeks with careful application.
Styling products like sprays and powders vary in transfer resistance and precision, with powders suited for targeted areas and sprays for rapid, overall coverage.
Complex colour patterns or resistant grey hair generally require professional salon tinting rather than DIY methods to ensure proper blending and lasting results.
Proper preparation, including patch testing, working on unwashed hair, and shielding skin, significantly improves the accuracy and appearance of root touch-up applications.
Regular maintenance with sulfate-free shampoos, heat protection, and timing around swimming and sweating help prolong root colour between touch-ups.
Table of Contents
Root touch up options: temporary concealer vs at-home kits vs salon tint
Three approaches dominate root touch up territory, and each solves a different problem. Temporary concealers, whether powder, spray, or cream, sit on the surface of the hair shaft and wash straight out with shampoo. At-home permanent kits use crème colour and a developer to change the hair structurally, lasting until natural regrowth pushes through, typically several weeks. Salon regrowth tint combines professional-grade formulation with an expert eye for shade matching, particularly valuable when your base colour involves highlights, balayage, or several tonal layers.
Tested roundups of sprays, powders, foams, and dyes consistently find that no single format wins outright. The best root touch-up choice depends on how much regrowth you’re hiding, how complex your colour is, and how long the result needs to hold.
Here’s the decision in brief:
Temporary concealer: Minutes to apply, gone at the next wash, best for a quick fix before photos or a big meeting.
At-home permanent kit: Roughly 20 to 40 minutes plus processing time, lasts until natural regrowth shows, best when you’re matching a simple, single-tone colour.
Salon regrowth tint: Around 45 to 90 minutes with a colourist, lasts through your normal regrowth cycle, best for multi-tonal colour, resistant grey, or correcting a previous mistake.
Retailers such as Boots sell root touch-up ranges organised by sprays, powders, and dyes, which tells you something useful: these are genuinely distinct categories, not marketing labels, and choosing the wrong one for your situation is the single most common at-home mistake.
Types of root touch-up products and how they work
Every root product on the market falls into one of a handful of working mechanisms, and knowing which one you’re holding changes how you should use it.
Sprays and colour-refresh mists deposit tinted pigment onto the hair surface. They’re rapid, event-ready, and ideal when you need to look camera-ready within minutes. Transfer resistance varies enormously between brands. Some, like Rita Hazan’s spray, are marketed as waterproof and transfer-proof for grey coverage on the move, while cheaper formulas can rub off onto pillows and collars.
Powders and compacts offer more precision than a spray, which makes them the go-to for part lines and temples. Colour Wow’s Root Cover Up is a reflective mineral powder that washes out with shampoo, and its adhesion claims make it a genuine option for anyone who sweats or swims between colour appointments.
Root mascara, sticks, and cream concealers work best for targeted touch-ups along the hairline or in sparse patches rather than full regrowth coverage. Think small strokes from the scalp outward, blended into the lengths, rather than a broad sweep.
Cream-to-powder concealers sit somewhere between the two: Revlon’s Root Erase, for instance, applies with a sponge and typically lasts until the next shampoo, giving mess-free coverage without committing to dye.
Semi-permanent and permanent kits are the outlier because they chemically alter the hair rather than sitting on top of it. Permanent formulas use a developer to lift and deposit colour, which is why they last so much longer, and why they demand more care. dpHUE’s Root Touch-Up Kit, for example, is a permanent crème system with explicit developer timing instructions built specifically for resistant greys.
Shade-matching rules apply across every category: always choose the level closest to your natural regrowth colour, never one shade lighter. A root-only product cannot lift hair the way a full colour service can, so going lighter than your regrowth almost always ends in an obvious, patchy mismatch.
How do you choose the right root touch up method?
Three questions cut through most of the decision fatigue: how long does this need to last, am I matching an existing salon shade or my natural colour, and do I have sensitive skin or a history of reactions?
Start by assessing your regrowth honestly. A half-inch of single-tone regrowth is a different job to two inches of regrowth sitting under balayage. The more tonal variation in your colour, the harder it becomes for any home product to blend naturally.
Scenario one: event tonight, regrowth is subtle. Reach for a powder or spray concealer. It photographs well and disappears in the next wash.
Scenario two: four to six weeks of coverage needed, colour is simple and single-tone. An at-home permanent kit, applied carefully to the root section only, is the practical choice.
Scenario three: colour involves highlights, resistant grey, or you’ve had a DIY mismatch before. Book a salon regrowth tint rather than risk compounding the problem.
Pro Tip: If you’re not certain whether your colour counts as “complex,” take a photo in natural daylight and compare your roots to your mid-lengths. If you can spot more than one tone, treat it as complex.
Red flags that should send you to a salon rather than a bathroom mirror include scalp sensitivity or a previous reaction to dye, colour that has gone patchy or brassy from an earlier home attempt, and any regrowth that includes grey resistant enough to shrug off past touch-ups. A consultation over correcting a DIY mistake afterwards nearly always costs more, in time and money, than booking the right appointment first.
How to apply each root touch up method step by step
Preparation matters more than most people assume. Before any method, patch test if you’re using a permanent or semi-permanent product, protect your skin and clothing with an old towel, and work on dry, unwashed hair, since natural oils help some formulas grip better and protect the scalp from staining.
Spray technique. Hold the can 15 to 20 centimetres from your head, angle it toward the roots at a slight downward angle, and shield your hairline with a card or tissue to stop overspray landing on your skin. Work in short bursts rather than one continuous stream, then blend quickly with your fingers before it sets.
Powder or compact technique. Load the applicator brush lightly and press or stipple it into the root, rather than sweeping it across the scalp. Colour Wow’s own instructions specifically recommend a press-and-stipple motion for the best adherence, and this small detail is the difference between natural-looking coverage and an obvious cakey patch. Dust off excess with a clean brush once it’s blended.
Root mascara or stick technique. Use small, upward strokes starting at the scalp and working into the lengths, feathering the colour so it doesn’t sit as a hard line. This method suits sparse regrowth or hairline greys far better than a full-head application.
At-home permanent kit technique. Patch test 48 hours beforehand. Section the hair into small, manageable pieces, no wider than a centimetre, and apply the mixed colour to the root area only, keeping it off the mid-lengths and ends. Follow the developer timing on the box exactly. Kits such as dpHUE’s give explicit sectioning and timing guidance precisely because rushing this step, or overlapping onto already-coloured hair, causes uneven results and unnecessary damage. Rinse thoroughly once the timer’s up, then follow with the conditioner supplied.
Aftercare applies whichever method you’ve used. Switch to a sulphate-free shampoo for a few days afterwards if you’ve used a permanent kit, and avoid double-shampooing on the same day as a temporary concealer, since that’s often what strips it out faster than expected.
How long does a root touch up actually last?
Temporary concealers are shampoo-to-shampoo products by design: expect them to last until your next wash, full stop, though some sprays with waterproof claims will resist light rain or sweat in the meantime. At-home permanent kits behave differently. They deliver genuine longer-term coverage, but regrowth will still show through gradually, and most people find they need a fresh application every four to six weeks.
The trade-offs worth knowing before you commit:
Scalp staining is common with both powders and dyes if application is rushed or the product isn’t wiped from the skin promptly.
Patchy coverage tends to happen when concealer is swept rather than pressed into the root, or when a permanent kit is left on unevenly.
Colour mismatch is the most frequent DIY complaint, usually from choosing a shade lighter than the actual regrowth.
Transfer to clothing and pillows varies by formula; cheaper sprays are the worst offenders.
Chemical damage is a real risk with permanent kits used too frequently on the same section of hair, particularly at the parting.
Expert-tested comparisons across 21 root touch-up products in sprays, powders, foams, and dyes found wear and transfer resistance differ substantially even within the same category, which is exactly why reading the specific product’s claims matters more than trusting the format alone. To extend wear on a temporary product, avoid touching your roots throughout the day and use dry shampoo sparingly around the area rather than washing it out early.
When should you book a salon instead of doing it yourself?
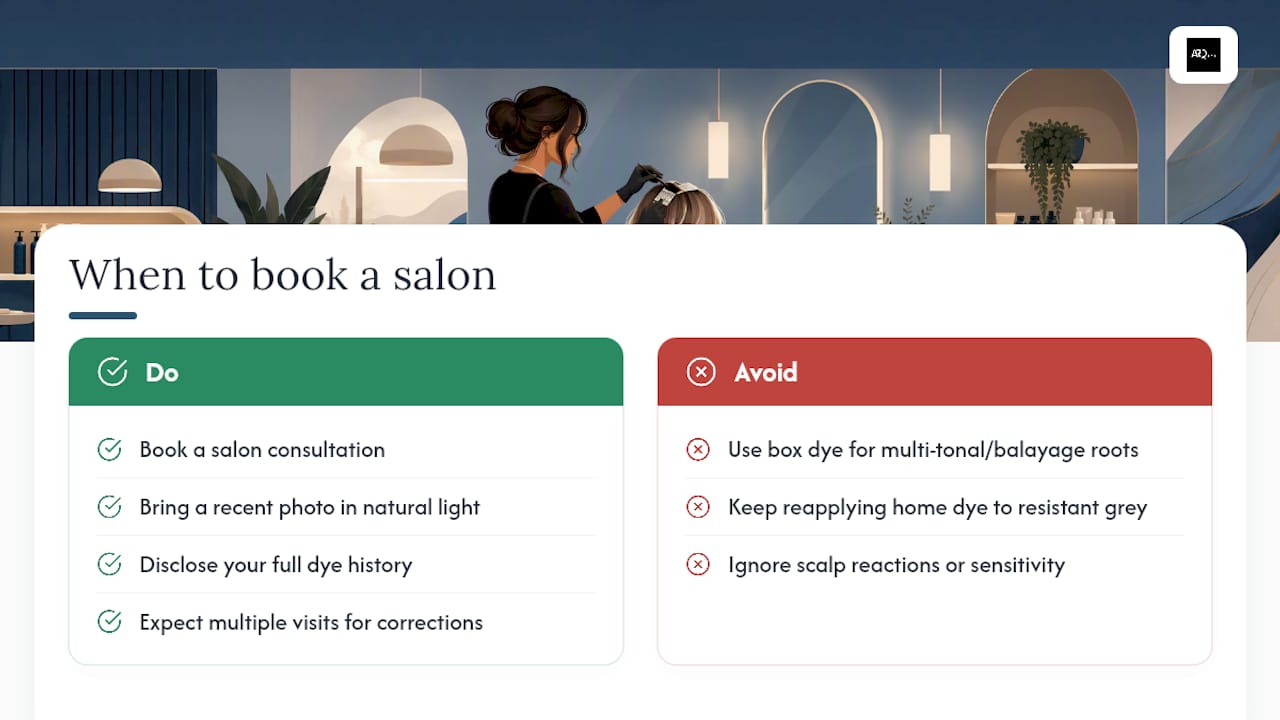
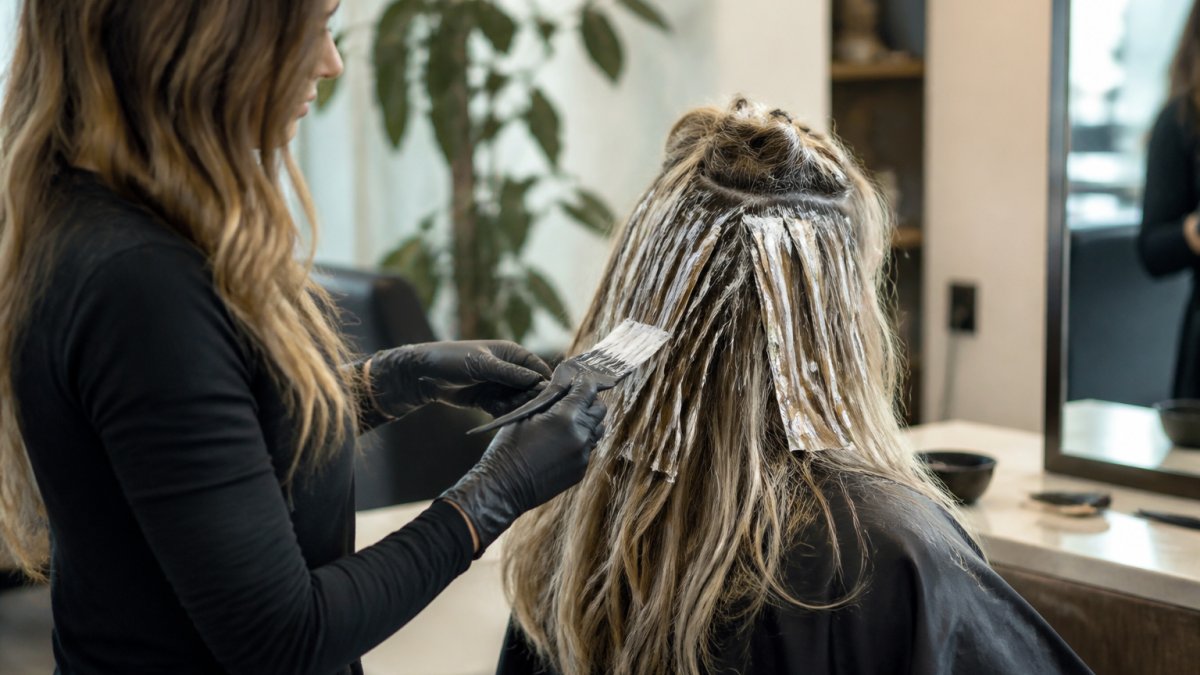
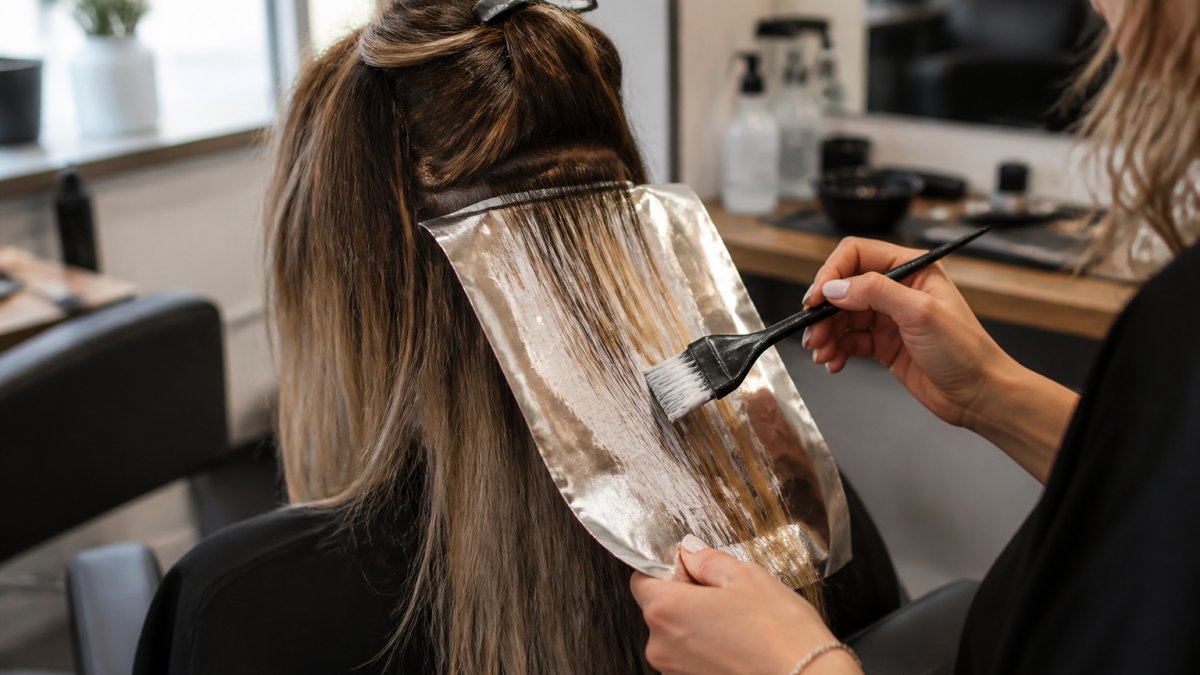
Some situations sit outside what any home product can reliably fix. Multi-tonal colour, balayage, or highlights around the root line need a colourist’s eye to blend properly, because a single flat shade from a box will sit on top of that dimension rather than melting into it. Resistant grey hair, the kind that’s shrugged off two or three home dye attempts, usually needs a stronger, professionally mixed formula and correct timing that a box kit can’t offer. Scalp reactions, or any history of sensitivity to home dye, are a clear signal to let a professional handle the chemistry.
A salon regrowth tint appointment typically includes a consultation to check your current colour history, precise shade matching against your existing base, and application techniques suited to your specific regrowth pattern rather than a one-size formula. It’s a service built to catch the mismatches a home kit can’t.
As a Wella Colour Expert with a family legacy spanning three decades in the chair, Ricardo has seen most of the ways a DIY root touch up can go sideways, and just as many ways a well-planned regrowth tint appointment solves it cleanly. If you’re booking a consultation, bring a recent photo of your colour in natural light, be honest about your dye history, and keep expectations realistic. Complex colour correction can take more than one visit.
Root touch up cost comparison: what should you expect to pay?
Cost is often the deciding factor between DIY and salon, and the gap is wider than most people assume until they weigh it against frequency of use. Temporary concealers, whether spray, powder, or compact, sit at the lower end and typically last for several applications before you need to repurchase, making them the cheapest per-use option by a clear margin.
At-home permanent kits cost more per box than a single concealer, but each kit usually covers two applications, spaced around four to six weeks apart, which brings the per-use cost down over a couple of months. The catch is that a mismatched shade or an uneven application can mean buying a second box to fix it, quietly erasing the saving.
Salon regrowth tint sits at the top of the price range, reflecting the colourist’s time, professional-grade product, and the shade-matching precision a box kit simply cannot replicate. It’s worth weighing against the real cost of a DIY mistake: correcting a botched home colour job at a salon almost always costs more than booking the regrowth tint in the first place would have. For anyone with multi-tonal colour or resistant grey, that maths tends to favour booking ahead rather than reacting after a mishap.
What’s the timeline for at-home kits vs a salon tint appointment?
An at-home permanent root kit follows a fairly tight sequence. Patch test 48 hours before, then on application day set aside roughly an hour in total: five to ten minutes to mix the colour and section the hair, 20 to 35 minutes of processing time depending on the developer strength, and a further ten minutes to rinse, condition, and towel dry. Most people can comfortably fit the whole process into a weekday evening.
A salon regrowth tint runs longer but delivers more certainty. Expect a short consultation first, several minutes, where your colourist checks your regrowth pattern and colour history. Application itself typically takes around 20 to 30 minutes, followed by processing time similar to a home kit, then a wash, blow dry, and a final check under proper lighting to confirm the blend against your mid-lengths. All told, a straightforward regrowth appointment usually takes under two hours; more complex multi-tonal work can take longer.
The practical difference isn’t just time, it’s what happens if something’s off. At home, spotting a mismatch mid-process means living with it until you can fix it. In the chair, your colourist can adjust the mix or timing before it sets, which is exactly the safety net a DIY kit doesn’t offer.
Where to buy reliable root touch up products
Stick to established retailers and recognised brands rather than unfamiliar marketplace listings, particularly for anything containing developer. Boots stocks a dedicated range of sprays, powders, and dyes from established haircare brands, and Sainsbury’s carries a similar root touch-up section within its haircare aisle, both useful for comparing formats side by side before you buy.
Buying directly from a brand’s own site is worth it when you want detailed application guidance alongside the product itself. Colour Wow and dpHUE both publish full instructions on their own pages, which matters more than it sounds, since misreading a developer timing from a repackaged listing is one of the more common causes of a patchy result.
Whichever retailer you choose, check the shade name against your actual regrowth colour rather than the box model’s hair, and buy the smallest size available if you’re trying a brand for the first time. It’s a cheap way to avoid being stuck with a full-size product in the wrong tone.
How should you prepare your hair and scalp beforehand?
Preparation is the step most people skip, and it’s usually the reason results disappoint. Start with a patch test 48 hours before using any permanent or semi-permanent dye, applied to a small area of skin, not just checked against the instructions on the box.
Work on hair that’s a day or two past washing rather than freshly shampooed. Natural oils sitting on the scalp create a barrier that reduces staining and helps some concealer formulas grip more evenly. If you’ve used heavy styling products recently, a light comb-through to remove product buildup at the root will help colour, powder, or spray adhere properly rather than sitting on top of residue.
Protect your skin before you start, not halfway through. Petroleum jelly or a barrier cream traced along the hairline stops permanent dye from staining skin, and an old towel around your shoulders saves your clothing from drips. Section your hair loosely with clips so you can work through small areas methodically rather than rushing the whole head at once, which is where most patchiness comes from.
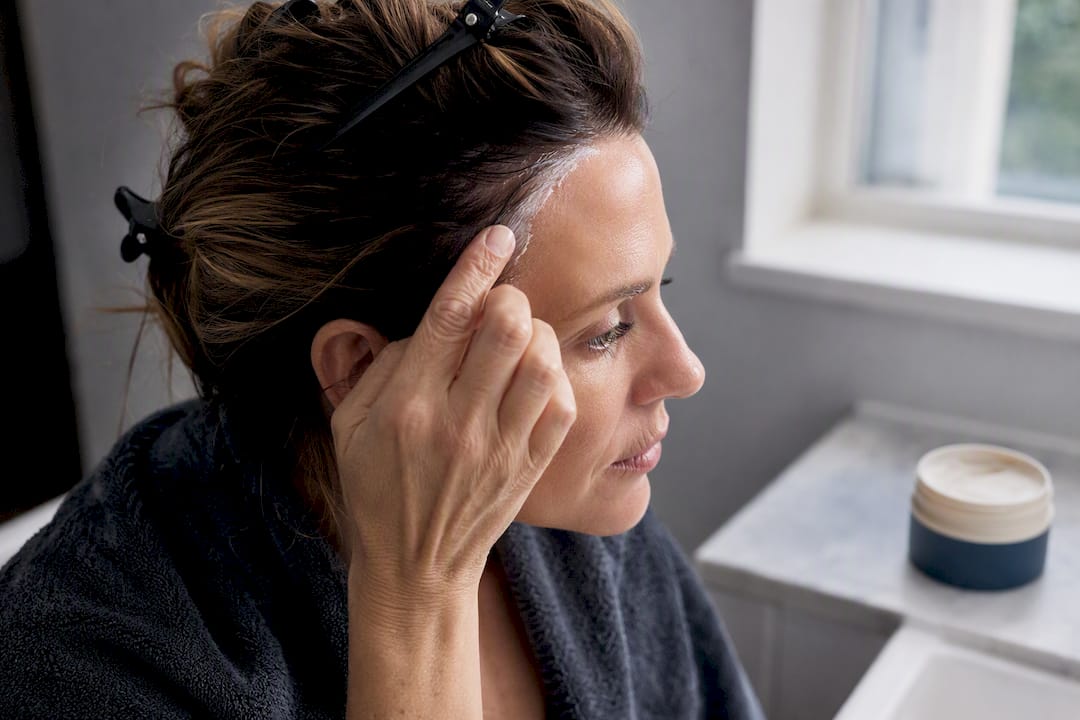
Finally, check the room’s lighting. Natural daylight or a daylight-balanced bulb shows true colour far better than warm bathroom lighting, and it’s much easier to catch an uneven patch before it dries than after.
How do you maintain root colour and prolong the results?
Between touch-ups, your washing routine matters more than any single product. Sulphate-free shampoo slows colour fade generally, and spacing washes out where you can, even by a day, extends the life of both temporary concealers and permanent colour alike.
Heat styling accelerates fade at the root more than anywhere else on the head, since that’s usually the area getting the most direct heat from a hairdryer held close to the scalp. A heat protectant spray, and keeping the dryer moving rather than lingering, helps preserve both the colour and the hair’s condition. If your hair tends toward brittleness or dryness, a conditioning treatment aimed at strengthening the shaft between colour applications reduces breakage at the point where regrowth and coloured hair meet, which is often the weakest section.
Swimming and heavy sweating both strip temporary concealer faster than a normal day, so if you’ve got a beach holiday or a training block coming up, plan your next touch-up around it rather than after the fact. For anyone maintaining a salon colour between appointments, a few practical habits around shade upkeep go a long way toward stretching the gap between regrowth tints without the colour looking tired halfway through.
Author’s perspective: professional tips from Ricardo
As a Wella Colour Expert with three decades of family salon experience behind the chair, my honest view is that most home root touch up disasters trace back to one thing: impatience with the small details. Match your shade to the level of your regrowth, not your mid-lengths. Patch test every single time, not just the first time. And work in small sections, always. If you’re staring at your parting wondering whether it’s “complex” enough to need a professional, that hesitation is usually your answer.
— RICARDO
Book a regrowth tint or bespoke colour maintenance with a professional salon
Concealer sprays and home kits solve the short-term problem, but they can’t replicate what a trained colourist does with multi-tonal colour or grey that keeps shrugging off box dye. Professional salons offer Wella Colour Experts who blend your regrowth tint against your actual base colour, not a generic shade card, for results that hold up under natural lighting, not just bathroom light.

Whether you need a straightforward regrowth tint between highlight sessions, bespoke balayage maintenance, or a correction after a home dye mishap, bring a recent photo of your colour and be upfront about what products you’ve used at home; it helps your colourist plan the right approach from the first consultation. Book an appointment with Arqhair to get your roots properly matched, blended, and looked after by someone who does this every day.
Sources
Recommended
Comments